
Small Linux virtual private servers (VPS) are a super cheap option to host .NET Core apps.
I'm going to set up an app on a brand new VPS from INIZ - a simple single CPU server with 512MB RAM, 40GB of storage and 1TB bandwidth is more than enough for most simple apps and only costs £15 a year!
You can pick which linux distribution to run - I like Ubuntu - so these instructions are for Ubuntu 16.04 LTS.
Lets run through the steps:
- Disable root access
- Install .NET SDK
- Publish app to the Server
- Setup reverse proxy
- Create service
- Add an SSL certificate with Certbot
Disable root access
First thing is to disable root access. There are many articles online on how to do this - but while developing I tend to just create a new user and give it sudo privileges.
First log in to your server as root, create a new user, and give it a strong password
$ adduser james
$ usermod -aG sudo james
Install nano and then edit sshd_config
$ sudo nano /etc/ssh/ssdh_config
Change PermitRootLogin to no and add an AllowUsers entry
PermitRootLogin no
AllowUsers james
Finally restart the ssh service
$ sudo systemctl restart sshd
You can now reconnect to your machine with your new user name.
Install .NET SDK
Following the linux install instructions from the .NET website, install the .NET Core SDK
Firstly install the Microsoft package sources:
$ wget -q https://packages.microsoft.com/config/ubuntu/16.04/packages-microsoft-prod.deb
$ sudo dpkg -i packages-microsoft-prod.deb
And then install the .NET SDK
$ sudo apt-get install apt-transport-https
$ sudo apt-get update
$ sudo apt-get install dotnet-sdk-2.2
Make sure it's installed by running
$ dotnet --info
.NET Core SDK (reflecting any global.json):
 Version:   2.2.104
 Commit:    73f036d4ac

Runtime Environment:
 OS Name:     ubuntu
 OS Version:  16.04
 OS Platform: Linux
 RID:         ubuntu.16.04-x64
 Base Path:   /usr/share/dotnet/sdk/2.2.104/

Host (useful for support):
  Version: 2.2.2
  Commit:  a4fd7b2c84

.NET Core SDKs installed:
  2.2.104 [/usr/share/dotnet/sdk]

.NET Core runtimes installed:
  Microsoft.AspNetCore.All 2.2.2 [/usr/share/dotnet/shared/Microsoft.AspNetCore.All]
  Microsoft.AspNetCore.App 2.2.2 [/usr/share/dotnet/shared/Microsoft.AspNetCore.App]
  Microsoft.NETCore.App 2.2.2 [/usr/share/dotnet/shared/Microsoft.NETCore.App]
To install additional .NET Core runtimes or SDKs:
  https://aka.ms/dotnet-download
Publish app to the Server
We are going to primarily be using the instructions from Microsoft Docs to Host ASP.NET Core on Linux to deploy our app.
We will deploy our app to the /var/www/ directory - so first we need to create a folder for our application and give access to both our user and the www-data user (which we will be using to run the app later)
$ sudo mkdir /var/www/<your app>
$ sudo chown -R james:www-root /var/www/<your app>
We then need to copy our application to the server - you could just copy it to the server using FTP or SCP - but there is an excellent tool available called dotnet-publish-ssh
To use it you simply add a tool reference to your project's csproj file:
<ItemGroup>
    <DotNetCliToolReference Include="DotnetPublishSsh" Version="0.1.0" />
</ItemGroup>
From your build machine, run
$ dotnet restore
$ dotnet publish-ssh --ssh-host <address of your server> --ssh-user <username> --ssh-password <your password> --ssh-path /var/www/<path to your site>
If everything worked correctly, your app is now on your server and ready to run.
Setup reverse proxy
A reverse proxy will forward requests made to our server to our app. We will use NGINX. Again, we will be following the directions on the Microsoft Docs site to Configure a reverse proxy server.
We follow the docs from NGINX (here) to install the Ubuntu release.
First we need to add the repository to our sources.list file. We will use nano again
$ sudo nano /etc/apt/sources.list
And add the following lines to the bottom of the file
deb http://nginx.org/packages/ubuntu/ xenial nginx
deb-src http://nginx.org/packages/ubuntu/ xenial nginx
Then simply run
$ sudo apt-get update
$ sudo apt-get install nginx
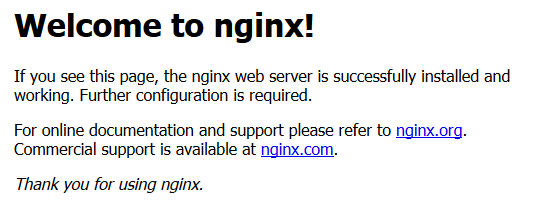
You can check that NGINX is running starting it with:
$ sudo service nginx start
If you navigate to your server's url, you should now see the default welcome page:
In my case, my server already had apache2 installed and running on port 80 - I had to disable this with:
$ sudo service stop apache2
$ sudo update-rc.d apache2 disable
Next we need to configure NGINX to forward request to our app. You need to modify the /etc/nginx/sites-available/default file and replace the contents with:
server {
    listen        80;
    server_name   <your domain>;
    location / {
        proxy_pass         http://localhost:5000;
        proxy_http_version 1.1;
        proxy_set_header   Upgrade $http_upgrade;
        proxy_set_header   Connection keep-alive;
        proxy_set_header   Host $host;
        proxy_cache_bypass $http_upgrade;
        proxy_set_header   X-Forwarded-For $proxy_add_x_forwarded_for;
        proxy_set_header   X-Forwarded-Proto $scheme;
    }
}
Your will then need to enable the site by linking it to etc/nginx/sites-enabled/default with
$ sudo sn -l /etc/nginx/sites-available/default /etc/nginx/sites-enabled/
Also ensure that your default site is included in the http section of the config file for NGINX at /etc/nginx/nginx.conf - there should be a line like:
http{
    ...

    include /etc/nginx/sites-available/default;
}
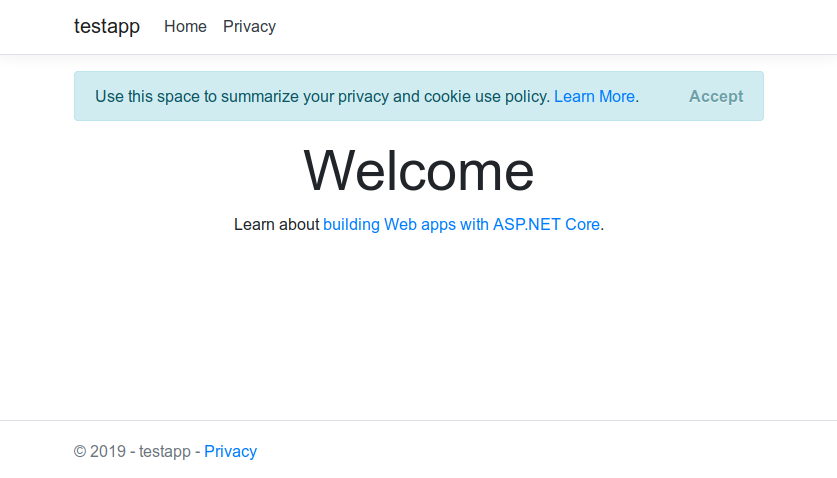
Once you have restarted the NGINX service, start your app with
$ dotnet <myapp>.dll
If you then visit your VM in the browser, you should see your wepapp running! 👏
Create service
The next task is to set up our webapp to run as a service, so you don't have to be logged in to your server for your application to run. Ubuntu uses systemd by default for managing services. So first we need to create a service file (remender the name of the file as this is what you will reference to control it):
$ sudo nano /etc/systemd/system/<myapp>.service
Enter your service information
[Unit]
Description=My application service

[Service]
WorkingDirectory=/var/www/<myapp>
ExecStart=/usr/bin/dotnet /var/www/<myapp>/<myapp>.dll
Restart=always
# Restart service after 10 seconds if the dotnet service crashes:
RestartSec=10
KillSignal=SIGINT
SyslogIdentifier=<myapp>
User=www-data
Environment=ASPNETCORE_ENVIRONMENT=Production
Environment=DOTNET_PRINT_TELEMETRY_MESSAGE=false

[Install]
WantedBy=multi-user.target
You can then start the service with
$ sudo service <myapp> start
You can check if it is running with
$ sudo systemctl | grep <myapp>
<myapp>.service                         loaded active     running   My application service description
Add an SSL certificate with Certbot
The final step is to secure our website with an SSL certificate from Let's Encrypt by using certbot. This is essential these days as all major browsers will flag if a website is not secure. Fortunately it's incredibly simple these days to set up an SSL certificate.
Add the Certbot PPA and install with
$ sudo apt-get install software-properties-common
$ sudo add-apt-repository universe
$ sudo add-apt-repository ppa:certbot/certbot
$ sudo apt-get update
$ sudo apt-get install certbot python-certbot-nginx
Then simply run
$ sudo certbot --nginx
And follow the prompts. If you have entered your domain in the NGINX site configuration, certbot will ask you which domain you would like to create a certificate for and ask you if you want to redirect traffic to HTTPS.
If everything goes to plan when you visit your site you will have a nice green padlock in the address bar!
Congratulations! You have you app up and running on your VM! 🎉